
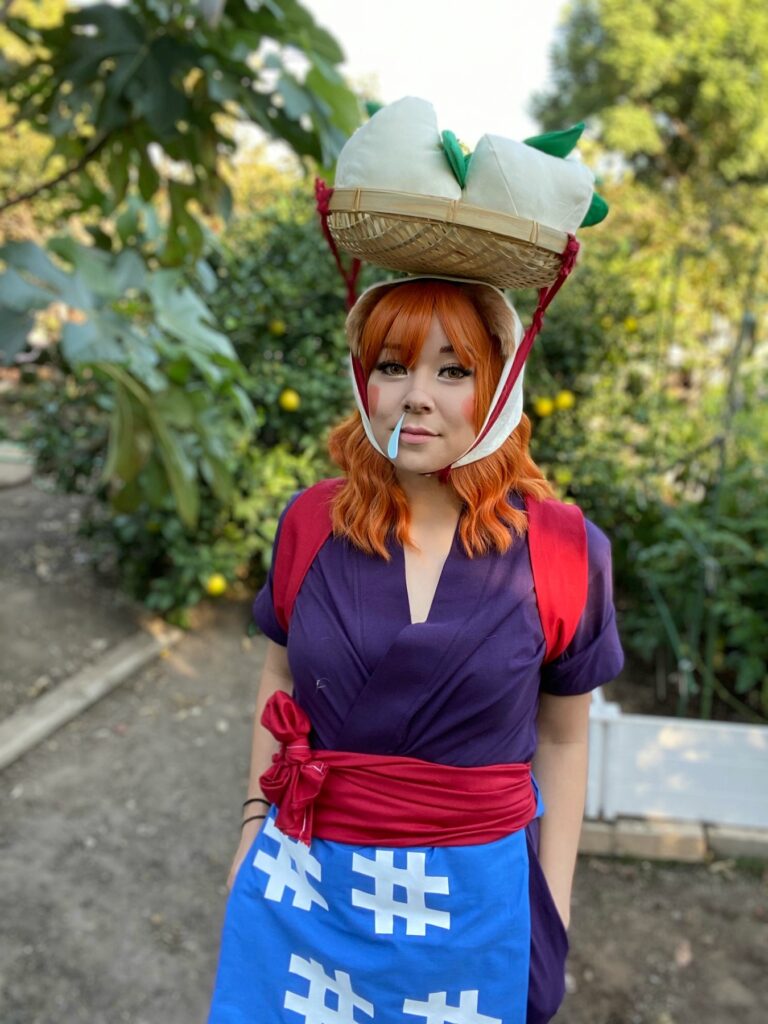
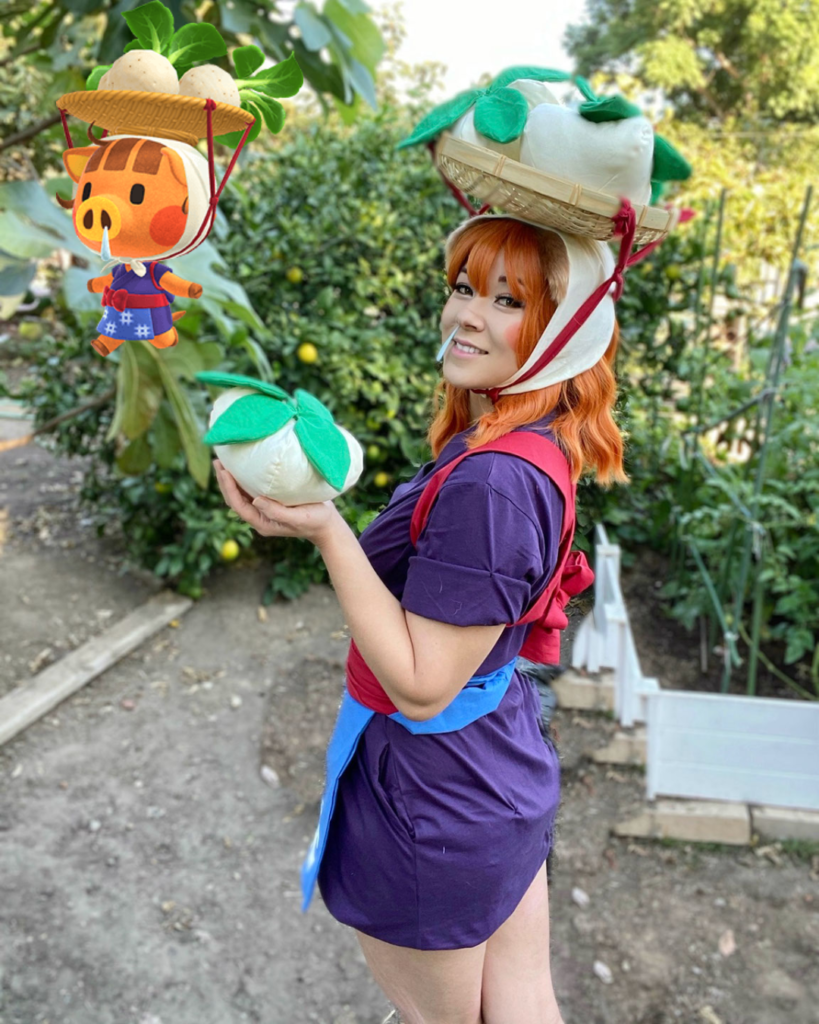
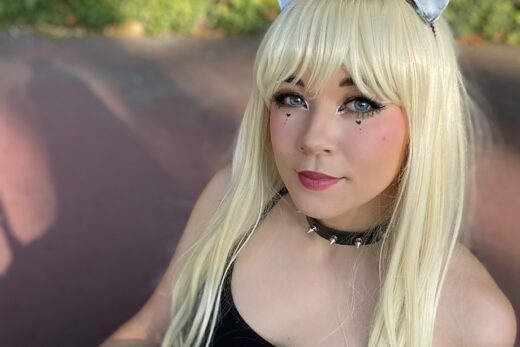
If you’re looking for an easy Animal Crossing cosplay that you can make yourself, Daisy Mae is a great choice! This was one of my favorite DIY cosplays because most of the costume was surprisingly simple to put together, even as a beginner.
I made Daisy Mae’s blue apron, red tasuki sash, red obi belt, head garment, basket straps, turnips, and of course her signature nose drip. I bought the purple robe, orange wig, ears, and woven basket to complete the look.
The entire project took me about 5 hours split between two days. In this tutorial, I’ll show you exactly what I made, what I bought, and how I put together my Daisy Mae cosplay step by step.
Disclosure: Some of the links in this post are affiliate links, which means I may earn a small commission if you purchase through them, at no extra cost to you. As an Amazon Associate I earn from qualifying purchases. I only recommend products I personally love or alternatives I think would work well for this cosplay. Thank you for supporting Mochi Makeup! ♡
What You’ll Need for This Daisy Mae Cosplay
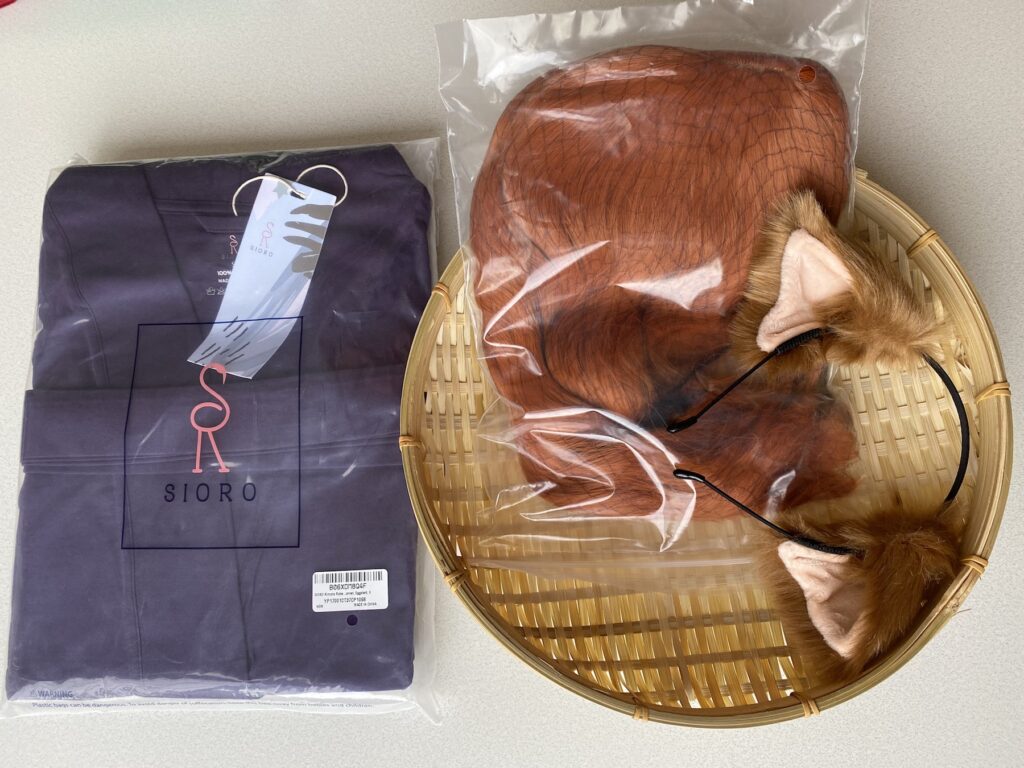
What I bought
- Purple robe – Shop my closest match
- Orange wig – Shop the wig
- Animal ears – Shop the ears
- Woven bamboo basket – Shop the basket
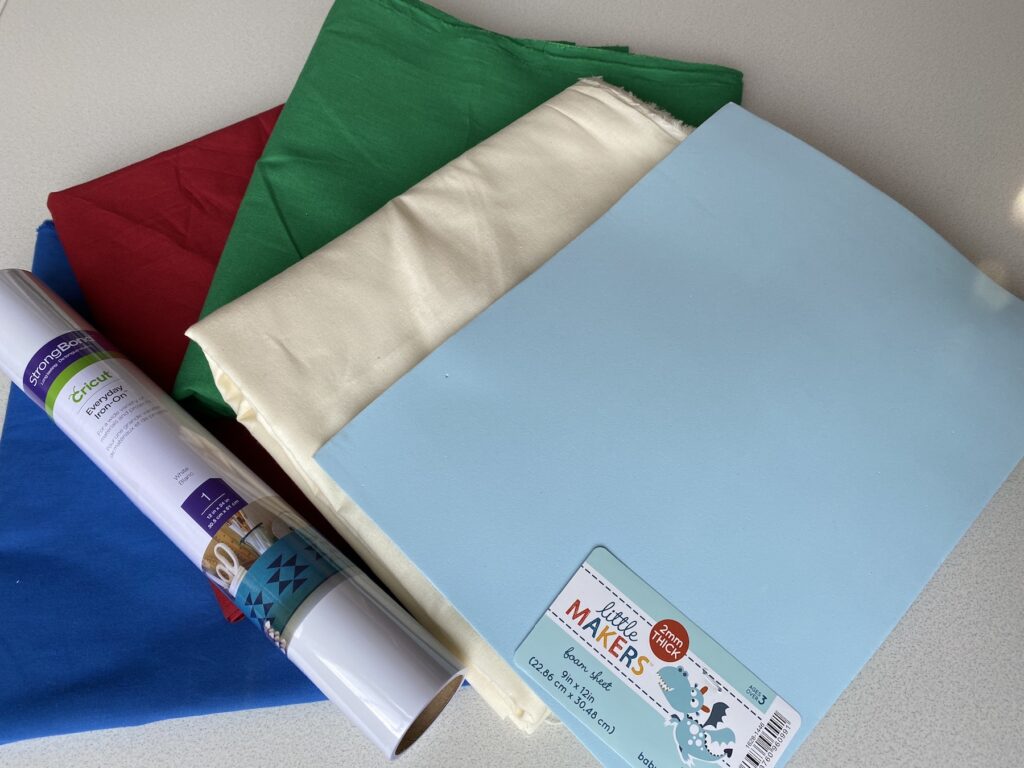
Materials I Used
- Fabric – Shop blue/red/beige/green fabric
- Foam sheets – Shop foam sheets
- Iron-on vinyl – Shop Iron-on-vinyl / heat press iron / exacto knife
- Polyester stuffing – Shop Stuffing
- Sewing supplies – Shop sewing machine /fabric scissors
Want an Easier Daisy Mae Costume?
If you don’t want to sew anything for this cosplay just refer back to the items I bought as well as these ready made items
- Blue apron
- Red Tasuki (sash)
- Red Obi (I would use the same product as the tasuki to make sure the colors and material match)
- Beige Head Garment
- Red Rope (to attach the basket to your head)
Who is Daisy Mae
Daisy Mae is an adorable character from the Nintendo Switch video game, Animal Crossing New Horizons. She is an orange boar merchant who sells you turnips every Sunday morning between 5am and noon. The prices of her turnips vary from week to week, and the whole purpose is selling the turnips you bought from her for a profit later in the week. It is almost like the stock market, with the ideal situation being- buy cheap and sell high.
How I Made My Daisy Mae Cosplay
I made Daisy Mae’s blue apron, red tasuki (sash), red obi (belt), beige head garment, the straps for her basket, turnips and her nose dripping.
How to Make Daisy Mae’s Blue Apron
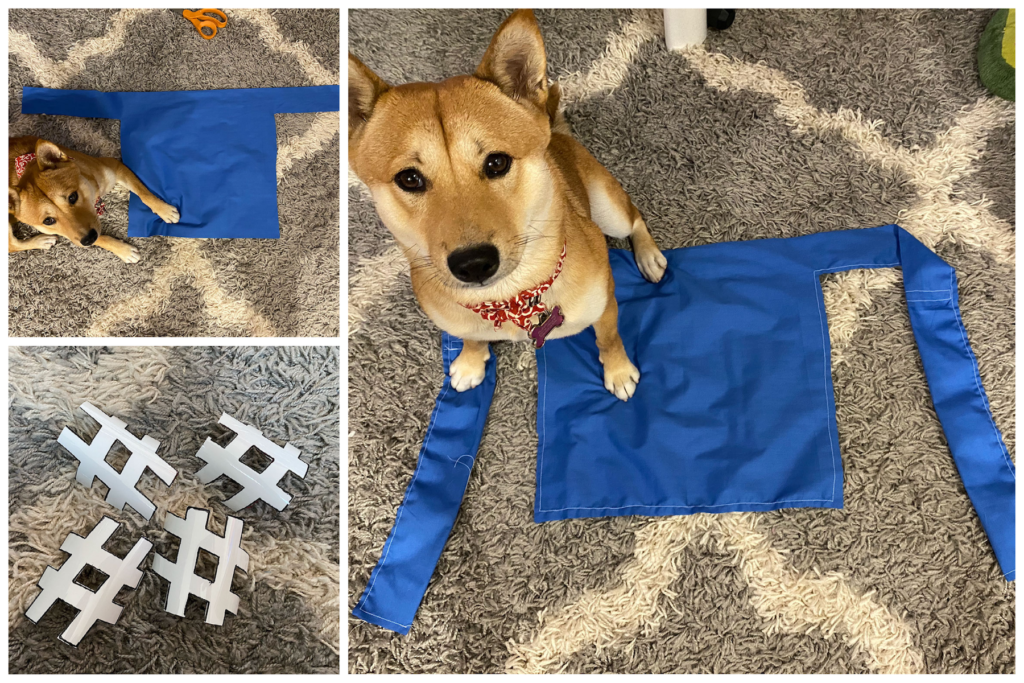
I used a polyester blend fabric in the color dark blue. I simply traced the the shape of the apron, including the straps to tie behind my waist. Because this material is quite thin, I decided to double it. I then used my sewing machine to stitch the edges together leaving just 1 inch unstitched so I could flip it inside-out. Luckily, the polyester blend I used looked great on both sides of the fabric. If you are using a fabric that obviously has a nicer side, do all your sewing on the duller side so when you flip the material inside-out, the better side will show.
Next, I used Iron on Vinyl to cut the hash patterns on her apron and ironed them on.
How to Make Daisy Mae’s Red Tasuki (Sash)

A tasuki is like a long skinny sash used for tying back the sleeves of a Kimono to keep them from getting in the way or dirty while doing daily activities. I wanted the tasuki to be around 2 inches wide, so I cut the material to be 4 inches wide, folded it in half and sewed the sides together. Once flipped inside-out, it was the perfect width.
How to Make Daisy Mae’s Red Obi
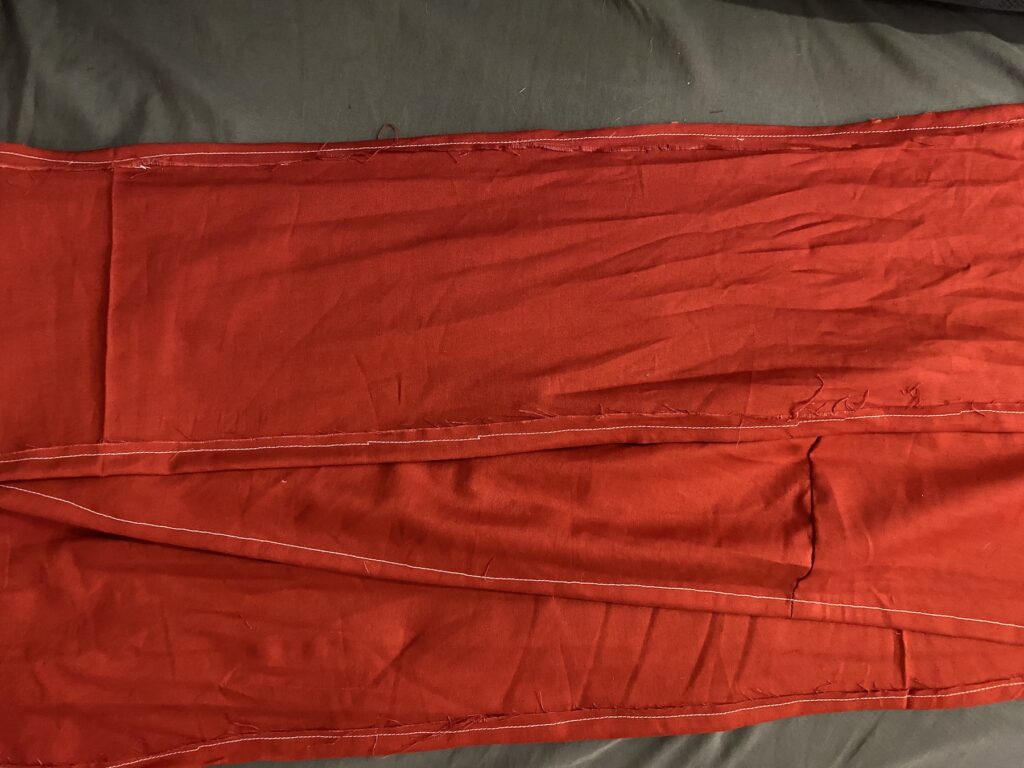
An obi is a wide belt for a kimono that goes around the waist that secures the kimono to stay in place. This is exactly the same concept as the tasuki, only wider. To save material, rather than doubling the material, I simply folded the edges in and sewed them down to keep them from fraying.
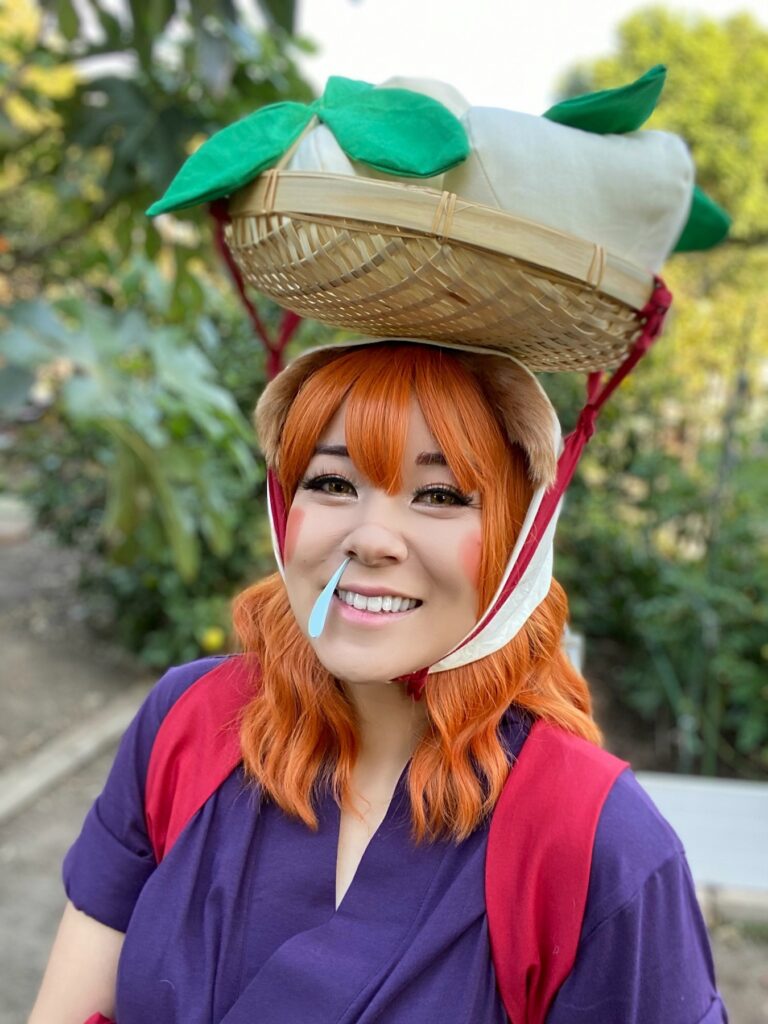
How to Make Daisy Mae’s Beige Head Garment
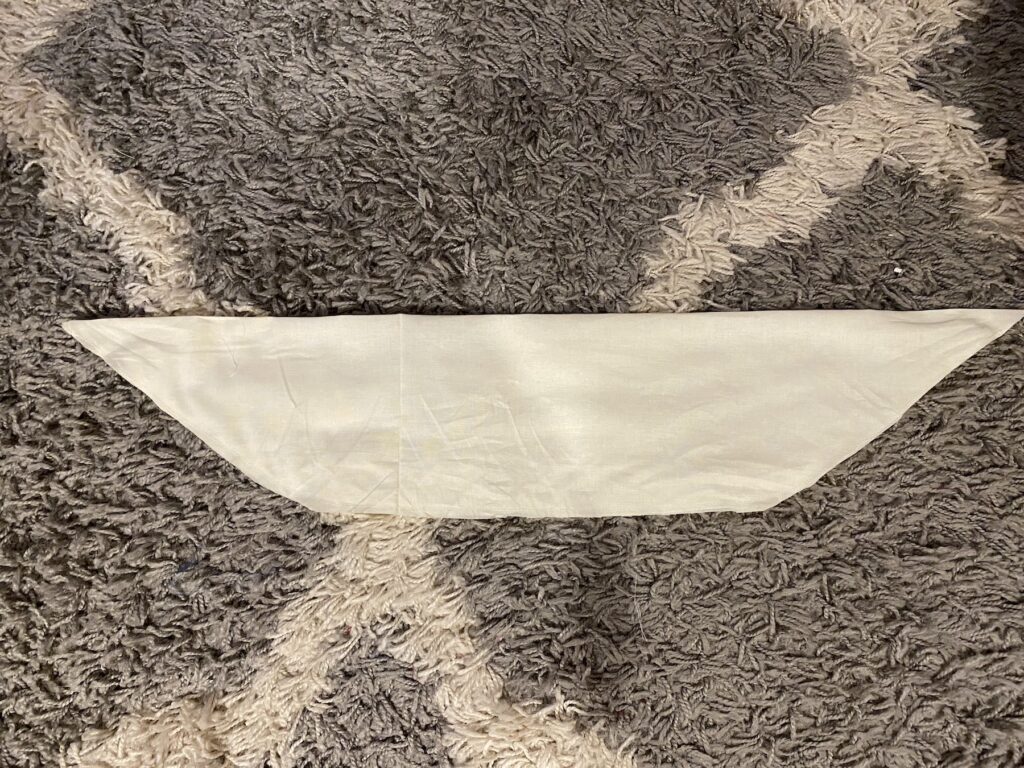
For the head garment, I doubled up the material and cut the shape pictured above. I then sewed the edges and flipped it inside-out.
How to Make Daisy Mae’s Straps For Her Basket
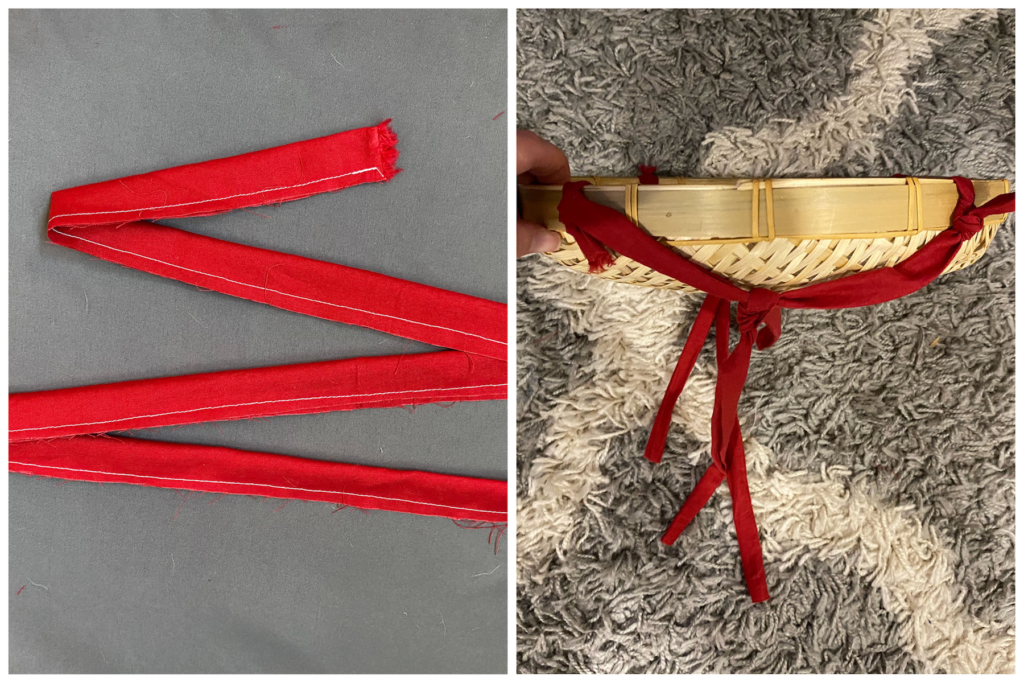
The straps for her basket are what keep her basket on the top of her head. It is the exact same process as the tasuki, only thinner. Once I finished all 4 straps, I attached them to the 4 sides of my basket.
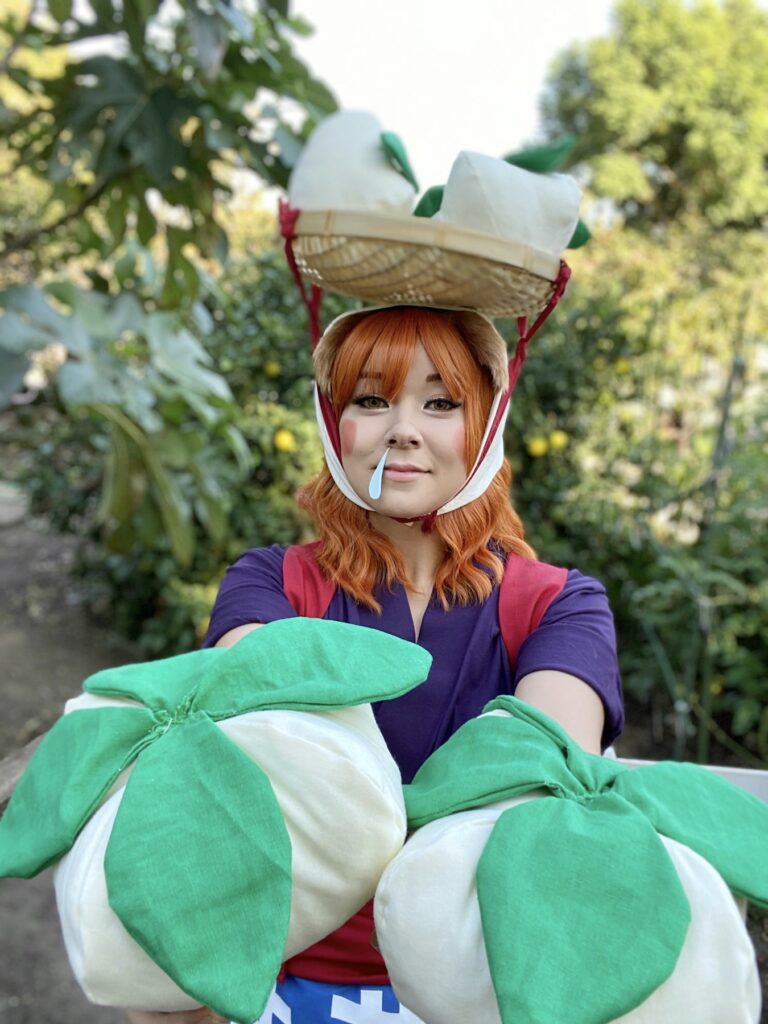
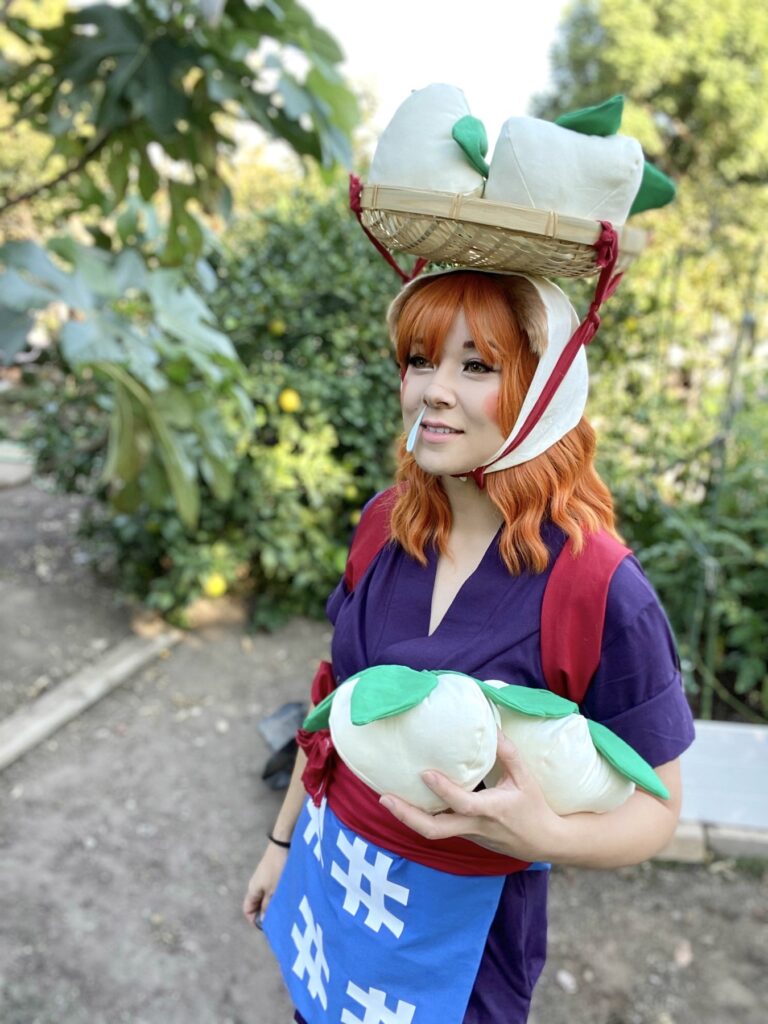
How to Make Daisy Mae’s Turnips

The turnips were the most time-consuming part of my Daisy Mae cosplay, but they ended up being my favorite part of the costume. And I still have them today! I will break this down into steps.
- Draw the general shape of the turnip. Cut out 4 of the same shape.
- Sew the 4 corners of each cutout together. Start from the bottom and sew upward. Leave an eighth of an inch open on the top of the turnip.
- Now draw the general shape of the leaves. Cut out 4 of the same shapes. Sew the sides together and flip inside-out.
- Stuff the turnip and attach a leaf to each side.
- Close the top of the turnip by hand stitching the base of the leaves together
How to Make Daisy Mae’s Nose Dripping
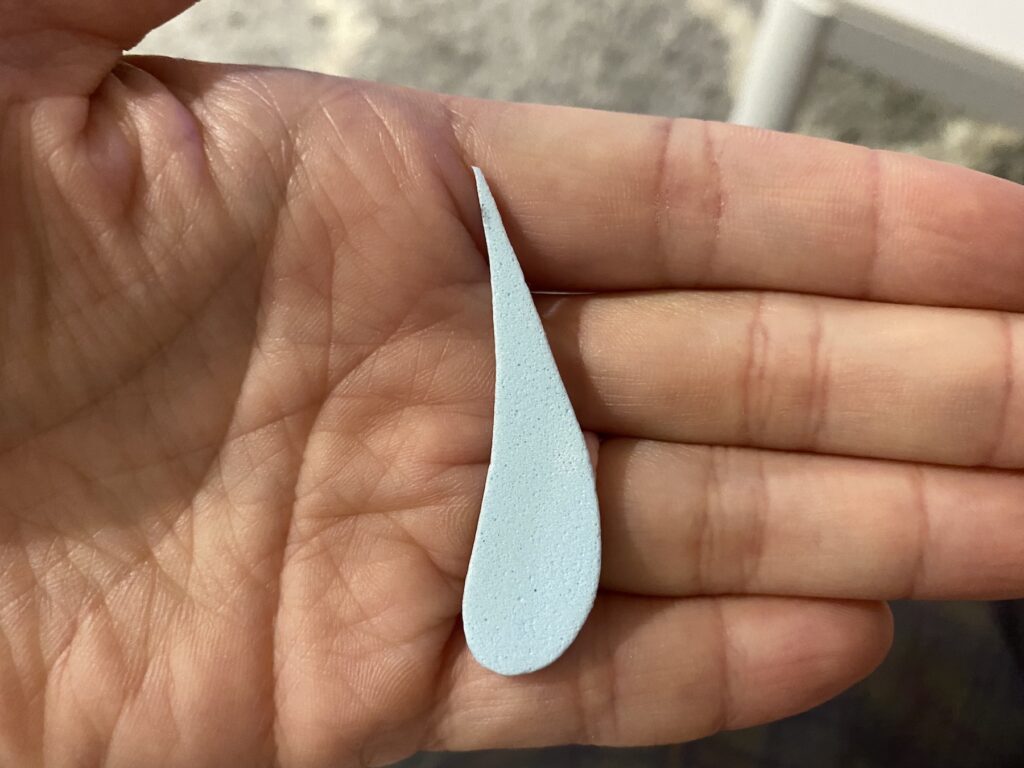
For the nose dripping, I used 2mm thick foam and cut out the shape I wanted. The foam sheets can be bought in bulk or individually at any craft store.
Rather skip some of the DIY? I linked the ready-made pieces and closest alternatives I found in my Daisy Mae cosplay shopping list above.
The Original Pieces I Used for My Daisy Mae’s Cosplay
These are the original pieces I bought when I made this costume in 2020. Some are no longer available, so I’ve linked the closest current alternatives in the shopping list at the top of this post.
- The purple robe – if this robe is unavailable, this is the closest current alternative I’d choose based on color and material – alternative purple robe
- Orange wig
- Ears
- Woven bamboo basket
What I Loved Most
I loved making the turnips the most. I was debating on whether I should buy real turnips from the market and save some time, but I am glad I made them. They came out very cute, and now I can keep them forever. I also appreciated how simple the sewing parts were. There weren’t any crazy patterns I had to follow. Almost everything was a straight line when it came to sewing. 🙂 I feel like I got a really great cosplay out of only 5 hours of work.
What Was the Most Difficult?
This cosplay was not difficult at all. I believe it is great for beginners and anyone on a time crunch. As I mentioned earlier, the turnips were definitely the most time consuming, but also the most rewarding.
This was also the first time I have used iron on vinyl. It took me awhile to figure out how to use it with out a machine. For those that are also going to be using iron on vinyl, application instructions can vary depending on the type of iron-on vinyl you use, so follow the heat and timing instructions included with your specific vinyl.
This is what I did personally:
- Draw the pattern you want on the shiny side with a marker.
- Cut out your pattern with scissors or an exacto knife.
- On a heat safe table, place your cloth down and heat it up with an iron (make sure your iron is set to cotton/linen and there is no steam).
- Place your pattern on your cloth, again shiny side up, and place the iron on top for 20-30 seconds at a time. Be sure not to slide the iron back and forth, place it down then lift it to the next section when ready.
- Slowly lift the plastic shiny side off. If your pattern is still lifting, put it under the heat for longer.
Why This Cosplay?
Because Duh…who doesn’t love a cute little boar with snot coming out of her nose?
Another reason I decided to do this cosplay was because of Halloween! My friend is hosting a small gathering and most of them have played Animal Crossing with me during quarantine. Every Sunday morning we would text each other our turnip prices and check on what prices our turnips were selling for throughout the week. I really hope they like my costume. We are also having a costume contest! I will add an update to let you all know who won. 😉
Update: I won!
If you’re looking for an even simpler, more low effort cosplay, check out my post on Umaru-chan from the anime “Himouto! Umaru-chan” right here -> Umaru-chan Cosplay.
Looking for a cosplay for your furry best friend? Check out my samurai dog cosplay right over here -> Samurai Dog Cosplay.
Daisy Mae Cosplay – Final Thoughts
If you are an Animal Crossing fan, this cosplay is a must! Looking forward to seeing her every Sunday morning and asking about her turnip prices has really endeared me to her. Even though sometimes she is impossible to find! If you would like more information on the products I use for my makeup, check out my article on Cosplay Makeup Essentials. Nothing in this cosplay has to be too precise. I freehanded all my cut outs just by estimating them. Remember to always have fun while cosplaying and make it your own. Just as Daisy Mae says: “Turnips, turnips! Watch ’em rise! Try to earn a nice surprise!
I hope you liked my take on Daisy Mae. If you also did this cosplay, please share it with me, I would love to see it. Stay tuned for more makeup and cosplays!

2 Responses
[…] I also hoped you liked meeting little Aki-chan. She also made a small appearance in my Daisy Mae – Animal Crossing cosplay while I was making the Blue Apron. I hope you liked this look, let me know if you have […]
[…] like CVS and Walgreens. If you are interested in my other cosplays for beginners, check out my Daisy Mae Cosplay as well as my Bowsette Cosplay. I hope this tutorial has helped you with your cosplay endeavor. […]